
If you’ve picked up a Nintendo Switch, whether it’s the original model, OLED, or Lite, you’ve probably figured out that the handheld experience is great, but there’s something magical about docking it and seeing your games explode across a big screen. The TV dock is your gateway to that experience, but it’s also one of the most misunderstood accessories. Some players deal with frustrating connection issues, others aren’t sure if third-party docks are worth the risk, and plenty don’t realize they’re leaving performance on the table with poor setup practices. This guide walks you through everything you need to know about your Nintendo Switch TV dock in 2026: what it does, how to set it up properly, how to troubleshoot when things go sideways, and how to keep your hardware safe. Whether you’re setting up for casual gaming or you’re chasing competitive performance in titles like Splatoon 3, getting your dock situation dialed in matters more than you’d think.
Table of Contents
ToggleKey Takeaways
- A Nintendo Switch TV dock is a USB-C connected cradle that charges your console while transmitting video and audio to your television, enabling full 1080p gaming with external controllers.
- Official Nintendo docks cost $50–80 and guarantee safety, while third-party alternatives from established brands offer better features and value at lower prices—just avoid cheap, unreviewed options that risk console damage.
- Proper setup requires positioning the dock on a stable surface with cable management, using a surge protector, and connecting a quality HDMI 2.0 cable to prevent connection issues and hardware failure.
- The OLED dock includes integrated ethernet for competitive gaming, reducing online latency from 50–100ms (Wi-Fi) to 10–20ms (wired)—a significant advantage in titles like Splatoon 3.
- Common dock problems like no signal, flickering, or poor audio are typically resolved by reseating cables, checking HDMI ports, or adjusting TV audio settings rather than replacing the dock itself.
- Monthly maintenance—dusting connectors, inspecting cables, and ensuring proper ventilation—keeps your Nintendo Switch TV dock functioning reliably for years without costly repairs or console damage.
What Is a Nintendo Switch TV Dock?
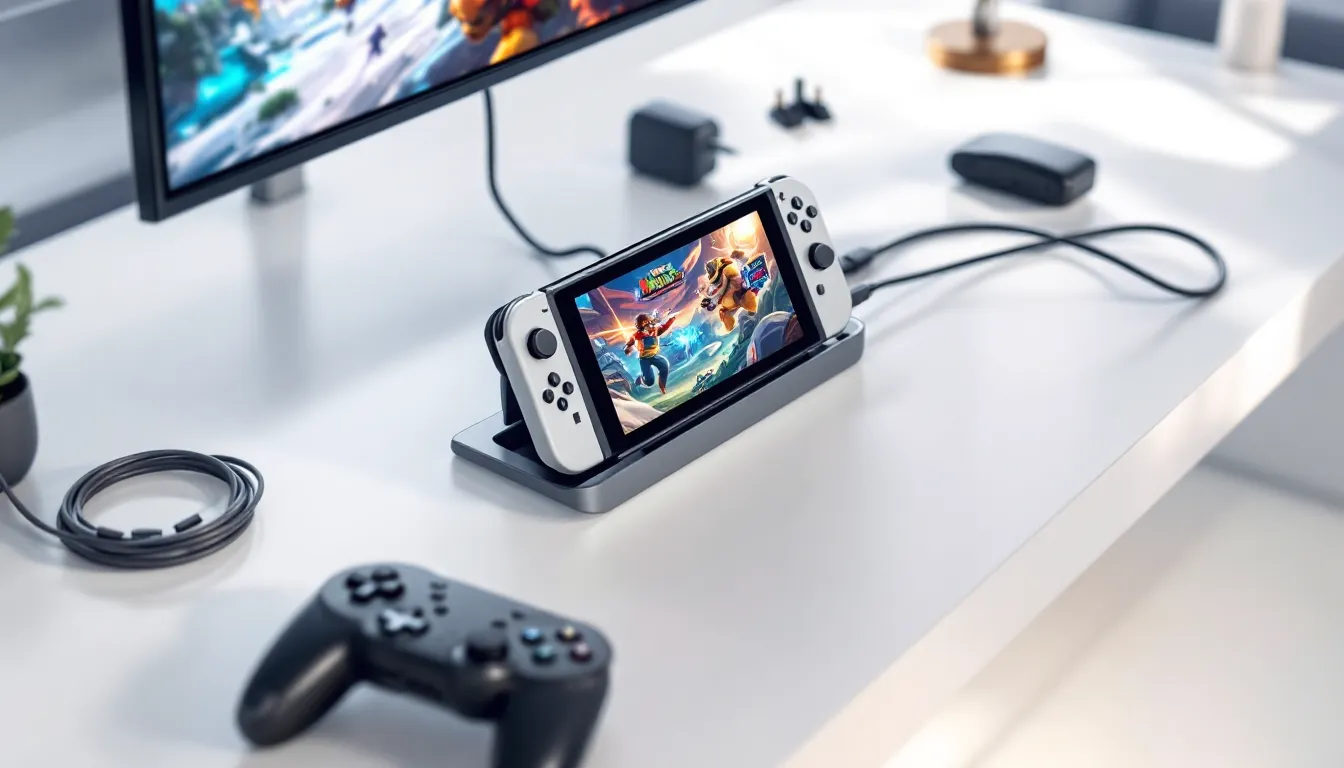
The Nintendo Switch TV dock is a physical cradle that holds your Switch console while simultaneously charging it and transmitting video and audio to your television. Think of it as a docking station, your Switch slides into the dock, and the dock handles the rest. The console connects via USB-C at the bottom, and a separate HDMI cable routes to your TV while a power adapter keeps everything charged.
Nintendo makes the dock in a few iterations depending on your hardware. The original dock shipped with launch models and the revised Switch, the OLED model comes with a dock that has built-in ethernet (more on that later), and the Switch Lite doesn’t have a dock at all, it’s handheld-only. The dock itself is straightforward: no moving parts, no firmware, no complications. It just sits there and does its job.
Here’s what happens behind the scenes. When your Switch is docked, it automatically switches to TV mode, scaling the display to your television’s resolution. Most games will display at 1080p docked (some demand higher resolution screens). The dock also gives you the freedom to use full-sized controllers, whether that’s Pro Controllers, Joy-Cons attached to a grip, or third-party options, rather than relying on the console’s built-in hardware. For anyone playing competitive games or just wanting a more comfortable gaming session, that’s a game changer.
Official vs. Third-Party Docks
Official Nintendo Switch Docks
The official Nintendo Switch dock comes in several variants, and picking the right one matters. The standard dock for the original Switch and revised Switch model is the basic cradle with HDMI and power passthrough. It’s reliable, it works, and it’s the safe choice. The OLED dock, but, includes integrated ethernet via USB-C on the back, a huge win for online gaming because it eliminates Wi-Fi latency entirely. If you own an OLED model, you get that dock by default, but you can also buy it separately if you want wired connectivity as an upgrade.
Official docks are built to Nintendo’s exact specifications. They won’t scratch your console, they output the correct video signal, and you won’t accidentally fry anything by using them wrong. The trade-off is cost: official docks run $50–80 depending on which version you need.
Third-Party Alternatives and Their Benefits
Third-party docks have come a long way since 2017. Brands like Nyxi, Basstop, and Insignia now make docks that match or exceed official performance while costing half as much. The best ones add features that Nintendo’s dock doesn’t: additional USB ports, better cable management, adjustable angles, or built-in kickstands.
BUT, and this is critical, not all third-party docks are created equal. A few years back, numerous third-party docks were bricking consoles by outputting incorrect voltage. That era has passed, but it taught a lesson: stick with established brands with solid reviews on major retailers. According to gaming tech reviews on TechRadar, the safest third-party options are those with multiple safety certifications and consistent positive feedback from the gaming community.
The practical advantage of third-party docks is cost savings and features. If you want a more compact dock for travel, additional USB ports for charging accessories, or a tilted design for better ergonomics, third-party makers often have you covered. Just don’t buy the cheapest no-name dock on a marketplace: do five minutes of research first.
How to Connect Your Switch to a TV
Step-by-Step Connection Process
Setting up your Switch dock correctly takes two minutes if you know what you’re doing. Here’s the breakdown:
Step 1: Position your dock. Place it on a flat, stable surface near your TV. Leave a few inches of clearance behind the dock for cable routing and ventilation.
Step 2: Connect the power adapter. The USB-C power cable should connect to the port on the back of the dock. Plug the AC adapter into a wall outlet or surge protector (definitely use a surge protector, your hardware will thank you).
Step 3: Connect the HDMI cable. The HDMI cable runs from the dock’s rear HDMI port to your TV’s HDMI input. Use a quality HDMI 2.0 cable, don’t cheap out here, as older or damaged cables can cause signal issues.
Step 4: Insert your Switch. Slide your console into the dock with the screen facing outward. You’ll hear a soft click as it seats. The USB-C connector at the dock’s base automatically aligns and connects.
Step 5: Select the input on your TV. Using your TV remote, switch to the HDMI input where you plugged in the dock. Your Switch should detect this automatically and display a welcome screen.
Step 6: Configure display settings (optional). Once docked, open System Settings > TV Settings to adjust resolution, color space, and other display preferences. The default settings work fine for most players, but gaming hardware guides on How-To Geek recommend checking these if you experience visual issues.
Troubleshooting Common Connection Issues
Not seeing a signal? Here are the first things to check.
No picture on TV: Make sure the TV is actually on the correct HDMI input. Sounds obvious, but it happens. If it is: unplug the HDMI cable, wait 10 seconds, and reconnect it. If still nothing, try a different HDMI port on your TV. Some TVs have older ports that don’t play nicely with Switch.
Flickering or signal dropout: This usually indicates a loose HDMI connection or a damaged cable. Reseat the HDMI cable firmly on both ends. If flickering persists, replace the cable. Poor-quality HDMI cables are a common culprit.
Console won’t charge in dock: The dock’s USB-C port can collect lint or dust. Use a small flashlight to check inside the dock’s connector. If it looks dirty, gently clean it with a dry cotton swab. Never force anything into the port. If cleaning doesn’t help, try a different power cable, yours might be failing.
TV recognizes the dock but no game audio: Check your TV’s audio input settings. Some TVs default to internal speakers and ignore HDMI audio. Navigate to your TV’s audio settings and ensure HDMI is set as the audio source. Alternatively, adjust your Switch’s audio output in System Settings > Audio.
Dock feels hot or smells odd: Unplug it immediately. This indicates a power issue or internal failure. Contact Nintendo Support or the dock manufacturer, don’t use a failing dock.
Optimizing Your Docking Experience
Display Settings and Resolution
Your Switch’s display performance depends partly on how you’ve configured it. Once docked, head to System Settings > TV Settings to fine-tune everything.
Resolution: Most games run at 1080p docked on the original Switch and revised model: the OLED model pushes slightly higher. The dock doesn’t magically boost these, it’s the console that determines output. You can’t change this setting: it’s automatic based on what your game supports. But, you can toggle 「Resolution (Pro)」 mode on some titles to prioritize frame rate or visual fidelity. This is game-dependent, not a dock setting.
Color space and HDMI color range: The Switch supports both limited RGB (16–235) and full RGB (0–255). For most modern TVs, the default automatic setting works fine. If you notice colors looking washed out or too dark, toggle between these in TV Settings to see which your TV prefers.
Match TV refresh rate: If your TV supports 60Hz (most do), make sure this is enabled. The Switch always outputs 60Hz on supported games: no 120Hz support exists on current hardware.
One common mistake: setting your TV to a vivid or gaming picture mode can introduce artificial sharpening or color boosting that makes everything look worse. Stick with a balanced picture mode on your TV, then adjust the Switch’s settings if needed.
Cable Management and Dock Placement
Where you position your dock and how you route its cables affects both functionality and hardware lifespan.
Dock placement: Set it on a level surface with 2–3 inches of clearance on all sides, especially the back where cables exit. Never enclose the dock in a cabinet or tight space. It needs airflow. Place it away from direct sunlight and heat sources. A dock sitting in a sunny window will degrade faster. If your entertainment center gets warm, that’s a sign your dock is too close to other hardware or lacks ventilation.
Cable routing: Use cable management clips or ties to prevent the HDMI, power, and any other cables from getting yanked or pinched. A tight bend stresses cables and can cause intermittent connection failures. Run cables along the back of your entertainment center, away from foot traffic. If you have pets or kids, consider cable sleeves to protect them from chewing or damage.
Power considerations: Always plug the dock’s power adapter into a surge protector. Standard wall outlets don’t protect against power spikes. A $15 surge protector can save you $80 in dock replacement costs. In areas with unstable power, consider a UPS (uninterruptible power supply) if you’re gaming competitively.
HDMI cable quality: You don’t need an $80 “gaming HDMI” cable, but don’t grab the cheapest one at a gas station either. A mid-range certified HDMI 2.0 cable ($10–20) is perfectly adequate and far more reliable than bargain-basement options. Replace any cables that feel damaged or have bent connectors.
Best Practices for Switch Dock Safety
Preventing Hardware Damage
Your Switch dock is simple, but treating it carelessly will destroy it, or worse, damage your console.
Never force the console into the dock. The USB-C connector should align naturally. If you’re meeting resistance, the console isn’t positioned correctly. Take it out and try again. Forcing it can bend the dock’s internal connector or scratch your Switch’s port.
Keep moisture away. Docks and moisture are enemies. If you’re in a humid climate, a small desiccant pack near the dock (but not touching it) helps. Never use the dock near water or in a damp environment. The risk of corrosion on internal circuits is real.
Don’t plug random USB-C devices into the dock. The dock’s USB-C port is solely for power input and console connection. Don’t try to charge other devices via the dock’s power cable. Use the dock’s intended components only.
Unplug during storms. If you live in an area with frequent thunderstorms, unplug the dock’s power adapter during the storm. Power surges can fry docks and consoles instantly, and a surge protector only helps so much during a direct strike. The safest move: disconnect entirely.
Don’t dock a wet or damp console. After travel or outdoor use, wipe your Switch dry and let it sit for 30 minutes before docking. Water on the USB-C connector can cause short circuits.
Maintaining Your Dock for Longevity
Minimal maintenance keeps your dock running for years.
Monthly cleaning: Dust accumulates. Once a month, unplug the dock, and use a dry microfiber cloth to wipe the exterior and visible connectors. For the USB-C port, shine a small flashlight inside. If you see lint or dust, gently clean with a dry cotton swab. Never use liquid cleaners or compressed air, compressed air can drive dust deeper.
Cable inspection: Every few months, check the power and HDMI cables for physical damage. Look for bent connectors, crushed insulation, or discoloration. Replace any damaged cables immediately.
Ventilation check: Make sure nothing is blocking airflow around the dock. Dust buildup on vents or surrounding areas can trap heat. Clear the area around your dock quarterly.
Power adapter health: If the power adapter feels unusually hot to the touch or makes buzzing sounds, that’s a sign it’s failing. Unplug it and replace it. A failing power adapter can damage the dock or console.
Storage: If you’re not using the dock for extended periods, like when traveling with just your handheld Switch, unplug it completely and store it in a cool, dry place. Remove the power adapter from the wall outlet. Docks left plugged in indefinitely can develop capacitor issues from constant low-load operation.
Update awareness: While docks themselves don’t have firmware updates, Nintendo occasionally releases console software updates that affect how docking is handled. Keep your Switch updated. These updates can fix stability issues, improve thermal management while docked, or optimize video output. According to gaming news from The Verge, recent updates have focused on console stability and performance optimization.
Popular Dock Accessories and Add-Ons
Top Recommended Accessories
Your dock works great on its own, but strategic accessories enhance comfort, functionality, and performance.
Pro Controller charging dock: Official Nintendo Pro Controller docks ($20) attach to the side of your Switch dock, allowing you to charge controllers while you play. Essential if you rotate between two or more controllers during extended sessions.
USB hub with multiple ports: Third-party docks often include USB-A ports, but if you’re using the official dock, a compact USB 3.0 hub ($15–30) connected to the dock’s back gives you additional ports for charging headsets, charging other devices, or connecting controllers. Look for powered hubs to avoid overtaxing a single power source.
HDMI 2.0 cable upgrade: If your dock came with a basic HDMI cable, upgrading to a certified HDMI 2.0 cable ($15–20) can improve signal stability, especially over longer cable runs. High-quality cables also tolerate repeated plugging and unplugging better.
Dock stand or angle kit: Some third-party docks include adjustable angle stands. If you use the official dock and want a tilted display, aftermarket stands prop the dock at 10–15 degrees, improving viewing angles without stress on the dock itself.
Cable management kit: Velcro ties, clips, and sleeves ($10–15) organize your cables and protect them from damage. Organized cables mean fewer connection issues and easier troubleshooting if something goes wrong.
Ethernet adapter (if using non-OLED dock): The OLED dock has integrated ethernet, but if you own an original Switch or revised model and want wired connectivity for competitive gaming, grab a Nintendo Switch Ethernet adapter that connects via USB-C. Wired connections eliminate Wi-Fi lag, critical in competitive titles like Splatoon 3 or Mario Kart 8.
Choosing the Right Setup for Your Gaming Style
Not every gamer needs the same dock setup. Here’s how to tailor yours.
Casual couch gamers: Stick with the official dock, a decent HDMI cable, and a surge protector. Add a Pro Controller charging dock if you own multiple controllers. That’s all you need. Keep it simple.
Competitive online players: Upgrade to an OLED dock with integrated ethernet, or add a wired Nintendo Switch Ethernet adapter to your current dock. The difference between Wi-Fi (50–100ms latency) and ethernet (10–20ms latency) is noticeable in fast-paced games. Also invest in a quality HDMI 2.0 cable and consider a UPS power backup if power stability is inconsistent in your area.
Travel gamers: You probably don’t need a dock at all, but if you want TV support on the go, grab a compact third-party dock designed for portability. Look for models that fold or compact. Make sure it supports your console model (original Switch vs. revised vs. OLED, they all dock slightly differently).
Streaming or content creators: If you’re streaming from your Switch, you need wired ethernet (the OLED dock or an ethernet adapter), a quality HDMI cable, and a capture card compatible with HDMI input. Your dock choice matters less than your capture setup, but a stable, well-maintained dock prevents streaming interruptions.
Multi-console households: If you own both an original Switch and an OLED model, consider buying a second official dock so you can keep both consoles ready to go. Swapping docks between consoles is safe, but having dedicated docks is more convenient. Check how to hook up a Nintendo Switch to a TV if you’re transitioning between models.
The bottom line: your dock is the bridge between handheld gaming and your TV. Invest appropriately based on how seriously you take that connection. A $50 official dock plus a $20 surge protector and $15 quality HDMI cable is the baseline. Everything else is optional but can meaningfully improve your experience.
Conclusion
Your Nintendo Switch TV dock seems simple, slide the console in, plug in cables, play, but the details matter. Whether you go official or third-party, whether you’re gaming casually or competitively, proper setup, maintenance, and safety practices will keep your hardware running smoothly for years. The dock itself rarely fails if treated with basic care: use a surge protector, keep it clean and ventilated, replace damaged cables, and don’t force anything. If you’re noticing connection issues or performance problems, troubleshoot methodically, most problems are cable-related or power-related, not dock-related.
The 2026 dock landscape offers more options than ever. Third-party alternatives have matured into solid products at fraction of the cost, while Nintendo’s OLED dock brings integrated ethernet to the table. For competitive players, that wired connection genuinely improves online responsiveness. For casual players, the official dock or a trusted third-party option does the job reliably.
Setup your dock right, maintain it honestly, and you’ll spend thousands of hours enjoying your Switch on the big screen without drama. That’s the goal, worry-free gaming.