
If you own a Nintendo Switch, you’ve probably hit that storage wall faster than you’d like. The console comes with 32GB or 64GB built-in (depending on the model), but modern games eat through that space like it’s nothing. A single AAA title can take 15–40GB, leaving you with barely room to breathe. That’s where an SD card becomes essential, not optional, essential. The right microSD card unlocks your Switch’s full potential, letting you build a library without constant digital housekeeping. But not all cards are created equal. Speed, capacity, brand reliability, and compatibility all matter when you’re dropping money on storage. This guide breaks down everything you need to know to pick the perfect SD card for your Switch in 2026.
Table of Contents
ToggleKey Takeaways
- A microSD card for Nintendo Switch eliminates storage frustration by allowing you to maintain a library of 8–12 AAA games instead of constantly deleting and reinstalling titles.
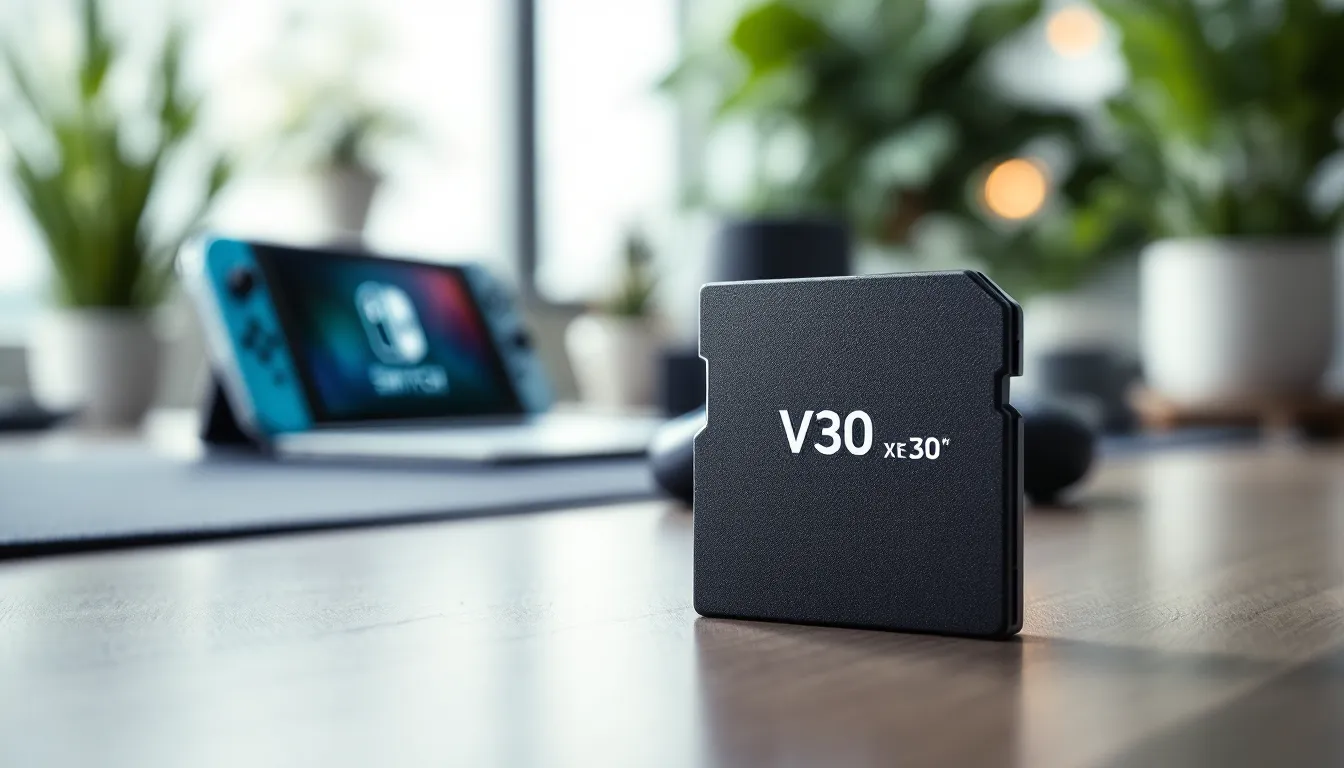
- Choose a 256GB V30-rated card as the optimal balance—it meets the Switch’s performance requirements, supports most gaming libraries, and offers excellent value compared to premium options.
- Speed ratings matter: aim for V30 (30MB/s minimum write speed) or faster to reduce load times and prevent stuttering, especially in open-world games like Zelda and Baldur’s Gate 3.
- All Nintendo Switch models (original, Lite, and OLED) use the same microSDXC slot and support cards up to 2TB, so compatibility is universal regardless of your console version.
- Trusted brands like Samsung EVO Select, SanDisk Extreme, and Kingston Canvas Go Plus deliver reliable performance and warranty protection, while budget options like SanDisk Ultra offer solid V30 speeds at lower price points.
- Insert your SD card at a 45-degree angle, format it through the Switch’s System Settings (not your computer), and keep the card in your console to maximize longevity and prevent physical damage.
Why Your Nintendo Switch Needs An SD Card
Let’s be real: the Switch‘s internal storage is a joke by modern standards. The original Switch came with 32GB, which sounds okay until you install two major games and suddenly you’re out of room. The OLED model bumped it to 64GB, but that’s still barely enough for a serious gamer’s collection.
Without an SD card, you’re forced into a tedious cycle: download a game, run out of space, delete something to make room, reinstall later. It’s annoying and breaks the flow of gaming. An SD card eliminates that friction entirely.
Beyond convenience, an SD card is practical. Nintendo Switch games don’t shrink, if anything, they’re getting larger. Zelda: Tears of the Kingdom sits at 15.7GB. Baldur’s Gate 3 takes up 150GB. Palworld hits 35GB. If you want to maintain a decent library without managing storage like it’s 2005, an SD card isn’t a luxury, it’s a requirement.
There’s also the financial angle. Upgrading your storage through an SD card costs far less than buying multiple Switch consoles or dealing with the constant delete-and-reinstall dance. A quality microSD card is a one-time purchase that pays dividends across hundreds of hours of gaming.
Storage Capacity: How Much Space Do You Really Need?
128GB vs 256GB vs 512GB: Breaking Down Your Options
Capacity is the first decision you’ll make. Nintendo officially supports microSD cards up to 2TB, but in practice, you’re choosing between 128GB, 256GB, 512GB, or 1TB.
128GB is the bare minimum. It’s affordable and works fine if you play 3–4 games at a time and don’t mind rotating titles. But, with modern game sizes, 128GB fills up faster than you’d expect. It’s the entry-level option, useful only if you’re on a tight budget or primarily play indie titles.
256GB is the sweet spot for most gamers. It gives you room for 8–12 AAA titles comfortably, plus a bunch of smaller games. Prices have dropped significantly, making 256GB the most practical choice for performance-to-cost ratio. If you’re buying an SD card right now, this is the capacity to grab.
512GB appeals to collectors and serious gamers who want to keep their entire library accessible. No more agonizing over which game to delete. The price difference between 256GB and 512GB has narrowed, so if you’ve got the budget, it’s worth the leap. Future-proofing your storage means fewer upgrades down the road.
1TB exists and is technically compatible, but it’s overkill for the Switch unless you’re hoarding everything ever released. Pricing sits in the premium territory, and honestly, 512GB covers most scenarios.
Game Installation Sizes and Your Gaming Habits
Here’s the math: typical AAA games range from 15–50GB. Indie titles are smaller, often 1–10GB. Sports games and first-person shooters are beefier because of assets and textures.
Consider your play style. If you’re someone who finishes one game, deletes it, and moves to the next, 128GB works. If you like rotating between 5–10 games depending on mood, a session of Zelda, then Elden Ring, then Stardew Valley, you need 256GB minimum. If you’re the type who wants everything installed immediately, go 512GB.
Also factor in multiplayer games. Pokémon games, Mario Kart, Smash Bros, these tend to stay on the console long-term. An active online multiplayer collection eats storage faster than single-player titles because you revisit them constantly.
Speed And Performance: Understanding Read/Write Speeds
Minimum Speed Requirements For Nintendo Switch
Speed matters more than casual users realize. The Switch reads data off your SD card constantly, when you launch a game, during load screens, when assets stream in. A slow card creates visible performance issues.
Nintendo doesn’t officially mandate minimum speeds, but industry consensus is clear: aim for a UHS-I Class 3 (U3) rating with a minimum write speed of 60MB/s. In practical terms, look for cards labeled “V30” (Video Speed Class 30, guaranteeing 30MB/s minimum write speed) as a baseline.
MicroSD cards come in several speed classes:
- U3 (UHS Speed Class 3): Minimum sustained write speed of 30MB/s. Good enough for the Switch.
- V30 (Video Speed Class): Minimum sustained write speed of 30MB/s. Designed for video recording: perfect for gaming.
- V60: Minimum sustained write speed of 60MB/s. Overkill for the Switch but doesn’t hurt.
- V90: Minimum sustained write speed of 90MB/s. Definitely overkill, and often pricier without proportional benefit.
For the Switch, V30 cards are the practical minimum. They’re widely available, affordable, and meet the console’s needs without unnecessary expense.
How Speed Affects Load Times and Gameplay
A faster card doesn’t make your games run faster once they’re loaded, the Switch’s CPU and GPU set the frame rate ceiling. But it does reduce load times and ensures smoother data streaming.
With a slow card, you might experience:
- Longer load screens between menus and gameplay
- Stuttering during streaming in open-world games (noticeable in Zelda or Elden Ring)
- Delayed asset loading, causing brief visual pops or texture delays
- Inconsistent performance when the card can’t feed data fast enough
A V30-or-better card eliminates these bottlenecks. You get snappy load times and consistent performance. The difference is more pronounced in larger games with streaming assets. Smaller indie titles won’t show dramatic improvements because they’re not pushing the I/O boundary.
Real-world example: a slow card might add 2–5 seconds to load times in Baldur’s Gate 3, a game notorious for I/O demands. A good V30 card minimizes that penalty. Over hundreds of hours, those seconds add up.
Compatibility And Format: What Works With Your Switch
MicroSD vs MicroSDHC vs MicroSDXC Explained
The naming convention looks confusing but it’s really a capacity tier system:
MicroSD: Officially supports up to 2GB. These are ancient. Don’t buy one.
MicroSDHC (High Capacity): Supports 4GB–32GB. They work with the Switch, but you’re limited in capacity. If you’re only grabbing 32GB, make sure the card is fast (V30 or higher) to at least get decent performance at that small size.
MicroSDXC (Extended Capacity): Supports 32GB–2TB. This is what you want. Nearly all modern microSD cards are MicroSDXC. The Switch officially supports up to 2TB, so you’re not limited by the console, only by what’s available and affordable.
All three types use the same physical slot on your Switch. Compatibility isn’t an issue: capacity and speed are.
OLED, Standard, and Lite Model Compatibility
Here’s the good news: all Switch models use the exact same microSD card slot and support the same card types. The Nintendo Switch (original), Switch Lite, and Switch OLED are all compatible with microSDXC cards up to 2TB.
There’s no “OLED-specific” or “Lite-specific” card. You’re not locked into any particular brand or variant based on your console model. A 512GB Samsung card works identically on an OLED and a standard Switch.
One caveat: the Switch OLED model comes with 64GB storage versus the original Switch’s 32GB. If you already own the original Switch, upgrading to OLED doesn’t reduce your need for an SD card, you still want one. The extra 32GB is nice but won’t change your purchasing decision for the card itself.
Top Brands And Models Worth Considering
Premium Options For Serious Gamers
Samsung EVO Select is the gold standard. Available in 128GB, 256GB, and 512GB, the EVO Select delivers V30 speeds with real-world performance that matches the rating. The build quality is solid, you’re not getting a card that fails after six months. Prices sit in the mid-to-premium range, but reliability justifies the cost. Most professional reviewers on PCMag consistently recommend Samsung for sustained performance.
SanDisk Extreme (MicroSDXC) is another premium contender. The red-labeled Extreme line offers V30 guarantees and excellent sustained speeds. SanDisk has been in the memory game for decades, and it shows in consistency. Slightly pricier than Samsung for comparable specs, but if you prefer the brand, it’s not a bad choice.
Kingston Canvas Go. Plus is the dark horse. It’s fast (V30), reliable, and often sits between budget and premium pricing. Not as widely hyped as Samsung, but real-world testing shows solid performance. Worth considering if you want to save $5–10 compared to market leaders without sacrificing speed.
All three of these cards hit V30 specifications reliably and come with warranties, so you’re protected against DOAs and early failure.
Budget-Friendly Cards That Don’t Compromise Performance
Sandisk Ultra (MicroSDXC) is the entry point. It hits V30 for about $10–15 cheaper than Extreme. Speed-wise, it meets Nintendo’s needs. Build quality is adequate. If you’re watching your wallet but unwilling to drop $50–60 on a premium card, Ultra is solid.
Crucial P5 Plus offers competitive V30 performance at reasonable prices, especially in 256GB capacity. Less famous than Samsung or SanDisk, but actual user data from Game Rant shows consistent reliability. You’re not paying for brand prestige, just solid hardware.
Gigastone Rawless is the budget surprise. V30 speeds, reliable performance, prices significantly below Samsung. It’s a smaller brand, so warranty support is less robust, but if you’re okay with that trade-off, the performance-to-price ratio is unbeatable.
The catch with budget cards: read reviews carefully. Some off-brand cards claim V30 but underperform. Stick with established names (SanDisk, Kingston, Crucial, Gigastone) even in their budget lines. Avoid ultra-cheap no-name cards from random marketplaces, they’re often counterfeits or flash storage masquerading as MicroSDXC.
Installation And Setup: Getting Your Card Ready
Step-By-Step Installation Instructions
-
Power off your Switch completely. Don’t put it in sleep mode, fully shut it down. This prevents any write corruption if the card is inserted mid-operation.
-
Locate the SD card slot. On the original Switch and OLED, it’s on the bottom, next to the USB-C port. On the Switch Lite, it’s on the bottom edge. Look for a small rectangular slot with an even smaller ejector hole next to it.
-
Grab a card ejector tool or use a paperclip. Gently press into the ejector hole. A spring mechanism will pop out slightly, giving you access to insert your new card.
-
Insert the card at a 45-degree angle. Don’t ram it straight in, angle it, then gently push until it clicks. You’ll hear/feel a subtle click when it’s seated properly. The card sits flush when fully inserted.
-
Power on your Switch. The console detects the new card automatically. You might see a brief notification in the home menu.
-
Check System Settings to verify. Go to System Settings > System > Manage Software Storage. You should see your new card listed with available space. If it shows “Corrupted SD Card,” see the troubleshooting section below.
Formatting And First-Time Setup Tips
Format through the Switch, not your computer. Open System Settings > System > Manage Software Storage > Manage Software and Card. Select “Format SD Card” and confirm. This takes a few seconds and ensures the Switch writes its file system properly.
Don’t format on a Windows or Mac computer first, the Switch uses a specific file structure (FAT32 for under 32GB, exFAT for larger cards), and computer formatting might use incompatible settings.
Move existing data (optional). If you already have games installed on the internal storage and want to move them to the new card, go to System Settings > Data Management > Manage Software. Select a game and choose “Move to SD Card.” This frees up internal space for future downloads.
Check available space after formatting. A 256GB card doesn’t show exactly 256GB usable, the actual formatted capacity is slightly less (usually 238–240GB after formatting overhead). This is normal and expected.
Install games directly to the card going forward. When you download a new title, the Switch asks where to save it. Select SD Card. This preserves internal storage for the OS and system files.
Maintenance And Longevity: Keeping Your Card In Peak Condition
MicroSD cards are incredibly durable, but a few habits keep them healthy for years.
Avoid extreme temperatures. MicroSD cards operate between 0°C and 60°C (32°F to 140°F) safely. Don’t leave your Switch in a hot car or expose the card to freezing conditions. These extremes degrade the flash memory over time.
Handle with care. Keep the card in the Switch, not loose in a bag. Physical damage to the contacts or the chip itself causes failure. If you remove the card, store it in a protective case or the original packaging.
Don’t write-cycle excessively. Installing and uninstalling games repeatedly wears flash memory, but in real-world Switch use, you’re unlikely to hit the write-limit ceiling before the card becomes obsolete anyway. Modern cards handle thousands of write cycles.
Keep it dry. Water and microSD cards don’t mix. Moisture corrodes contacts and damages the chip. If your Switch gets wet, remove the card and let both dry completely before reinserting.
Eject properly. Always use the physical ejector mechanism. Yanking the card out can corrupt data or damage the connector. When you remove it, let it cool slightly before handling, it can get warm during sustained gaming.
Check integrity periodically. Once every few months, go to System Settings > System > Manage Software Storage and verify the card shows up and displays the correct capacity. If errors appear, back up your games to internal storage if possible and replace the card.
If you’re storing a Switch for extended periods, remove the card and store both in a cool, dry place. This prevents potential oxidation and ensures both survive the storage window without degradation.
Common Issues And Troubleshooting
“Corrupted SD Card” message: Power off your Switch completely. Remove the card, inspect it for physical damage (bent pins, cracks), and reinsert it firmly. Power back on. If the message persists, the card might be failing. Try reformatting the card through System Settings. If that doesn’t work, back up your data to internal storage if possible, and replace the card. This typically indicates a hardware failure or a fake counterfeit card.
Card not recognized: First, clean the card’s contacts gently with a soft, dry cloth (microfiber works best). Reinsert it firmly until you hear the click. If the console still doesn’t see it, try the card in another Switch if you have access to one. If it works elsewhere, your Switch’s slot might have debris. Use a clean cotton swab to gently clean the slot inside your console.
Slow load times after installing the card: This is almost never the card’s fault if it’s a V30 or faster. Check if you’re running the latest Switch firmware. Go to System Settings > System > System Update. Outdated firmware can occasionally cause performance quirks. If that’s current, the issue might be game-specific (some games just have longer loads), not hardware-related.
Games install but won’t launch: Ensure the card is fully inserted and the Switch recognizes it. If a specific game won’t launch after installing to the card, try moving it back to internal storage. If it launches from internal storage but not the card, the card might have a reliability issue. Back up the game and replace the card.
Card appears full but should have space: Go to System Settings > System > Manage Software Storage and select “Optimize Storage.” This cleans up temporary files and can free up unexpected space. If you’re genuinely maxed out on a 256GB card with 20+ AAA titles, it’s time to upgrade to 512GB or delete games you’re not actively playing.
Console won’t turn on after inserting card: This is extremely rare. Power off, remove the card, and power back on. If the console functions without the card but won’t boot with it inserted, the card is likely incompatible or failing. Verify it’s a genuine microSDXC card rated for the Switch, and consider replacement.
Conclusion
An SD card transforms your Nintendo Switch from a storage-limited console into a genuine gaming machine. You’re not forced to choose between games anymore, you can build a real library and switch between titles instantly.
The practical recommendation: grab a 256GB V30 card from Samsung, SanDisk, or Kingston. This capacity handles any library, the speed meets the Switch’s needs perfectly, and the price sits in the reasonable-investment zone. If you’re a collector or play constantly, step up to 512GB. If you’re purely casual, 128GB works, but you’ll hit its ceiling faster than you’d like.
The good news: all Switch models accept the same cards, installation takes 60 seconds, and once it’s in, you forget about storage management entirely. You’re free to play what you want when you want. And honestly, that’s worth every penny. If you’re looking to enhance your Switch experience beyond storage, How to Hook Up a Nintendo Switch to a TV covers setup for maximum enjoyment. For those curious about expanding their game library, Can You Get Fortnite on Nintendo Switch walks you through one of the most popular titles available.