
In the vast, blocky world of Minecraft, communication is key. Whether you’re leaving a cheeky message for a friend or marking your territory with flair, signs are your best buddies. They’re like the post-it notes of the pixelated universe, but way cooler and much less sticky. Who wouldn’t want to add a touch of personality to their builds with a custom sign?
Understanding Minecraft Signs
Signs serve as essential tools in Minecraft, enabling players to communicate and convey messages within the game world. These small, customizable blocks enhance creativity and provide information.
What Are Signs in Minecraft?
Signs are interactive blocks allowing players to display text. Players can craft signs using six wooden planks and a stick. They offer the ability to write up to four lines of text, making it easy to share important information or artistic expressions. Signs can be mounted on walls or placed upright, enhancing visibility and accessibility.
Importance of Signs in Gameplay
Signs hold significant value in gameplay, serving practical and creative purposes. They communicate directions, labels, or warnings, helping players navigate their surroundings. Players often use signs to mark territory, identify locations, or share tips with others. Additionally, signs add aesthetic value, allowing for unique customization in builds. The ability to relay messages fosters collaboration among players, enhancing the overall experience in Minecraft.
Materials Needed to Create a Sign
Creating a sign in Minecraft requires specific materials and knowledge on crafting methods. Players need to gather wood and sticks to start this process effectively.
Basic Materials Required
Wooden planks and sticks form the foundation for crafting signs. Six wooden planks, which can be obtained from any tree, serve as the main ingredient. Players can choose from various wood types, like oak, spruce, or birch, to customize their signs. A single stick, crafted from two wooden planks, completes the recipe. With these basic materials, he or she can proceed to build a sign for their Minecraft world.
Crafting Table vs. Inventory Crafting
Crafting signs can occur at either a crafting table or in the player’s inventory. Using a crafting table allows a 3×3 grid for arranging materials, which offers more flexibility. Inventory crafting, however, utilizes a smaller 2×2 grid but still suffices for creating signs. Placing three wooden planks in a row with the stick in the center works in either method. Selecting the most convenient crafting option depends on each player’s immediate access to resources and space.
Step-by-Step Guide to Make a Sign
Creating a sign in Minecraft involves several straightforward steps, which enhance communication and creativity in-game. Follow this guide for a smooth crafting experience.
Opening the Crafting Interface
Accessing the crafting interface is the first step. Players can do this by right-clicking on the crafting table or opening their inventory. Either option lets players use the respective crafting grids. A crafting table provides a 3×3 grid, while the inventory only features a 2×2 grid. Choosing the right interface depends on material availability and spatial needs.
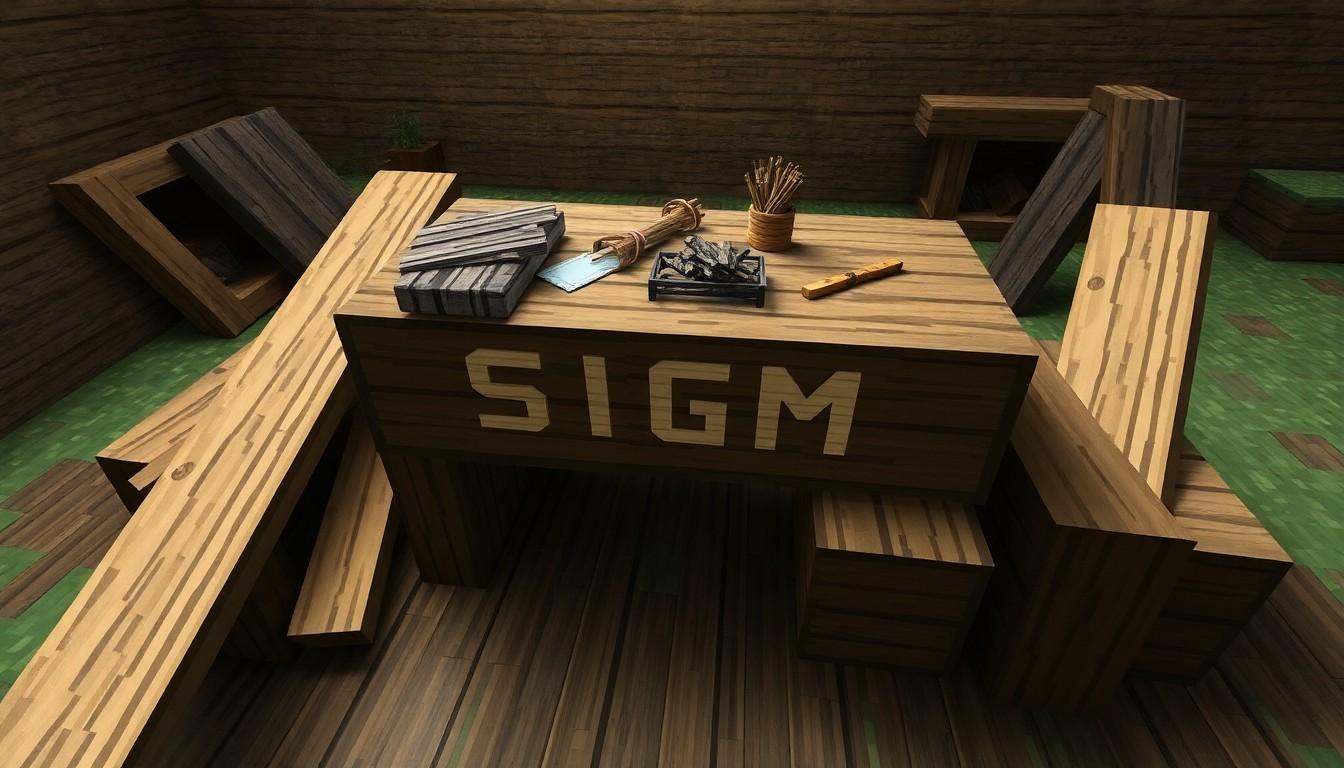
Placing Materials in the Crafting Grid
Placing materials in the grid requires arranging them correctly. Six wooden planks and one stick serve as the essential ingredients for a sign. Begin by filling the bottom row with three wooden planks. Following this, place one wooden plank in the middle square of the second row, then insert the stick into the center square of the grid. The remaining top row can stay empty. Ensuring the correct layout helps streamline the crafting process.
Finalizing and Collecting the Sign
Finalizing the sign involves a simple click. After placing the materials in the grid, players can see the resulting sign appear in the crafting result box. To collect it, players need to drag the sign into their inventory. Completing this step confirms the successful crafting of the sign, ready for placement in the Minecraft world. This quick process reinforces players’ ability to communicate and personalize their environments efficiently.
Customizing Your Sign
Customizing signs adds a personal touch in Minecraft. Players can express creativity through text and color choices.
Adding Text to Your Sign
To add text, right-click on the sign after placing it. A text box appears, allowing for up to four lines of text. Typing can include directions, descriptions, or friendly messages. Once finished, click “Done” to save changes. Players can easily edit the sign anytime by right-clicking again. Effective communication becomes effortless with well-placed messages that enhance gameplay.
Different Sign Styles and Colors
Different styles and colors allow for unique designs. Players can craft signs using various wood types, influencing the sign’s appearance. Oak, birch, spruce, jungle, acacia, and dark oak all provide distinct aesthetics. Moreover, signs can display text in multiple colors using formatting codes, enhancing visual appeal. Utilizing these options breathes creativity into builds, making them stand out in a multiplayer environment. Custom signs engage players, creating vibrant, interactive spaces in the game.
Tips and Tricks for Using Signs Effectively
Signs greatly enhance communication in Minecraft. Players can maximize their effectiveness through strategic uses and placement techniques.
Common Uses for Signs in Minecraft
Signs serve various purposes in the game. Directional signs guide players to important locations such as bases or resource spots. Labels help identify farms, buildings, or even specific items, making organization simpler. Warnings indicate danger areas, preventing accidents. Players also use signs for personal messages, leaving notes for friends or decorating their builds creatively. Creative players often utilize signs to express their personality, using different wood types to fit themes.
Best Practices for Sign Placement
Placement of signs can significantly impact their effectiveness. Position signs where they’re easily visible to players navigating your space. Avoid obstructing pathways with signs, as this might hinder movement. Consider spacing multiple signs so each serves a clear purpose. Use color codes and formatting to make text standout, ensuring readability from a distance. Align signs with relevant landmarks for enhanced contextual awareness, helping players interpret their messages quickly.
Conclusion
Crafting signs in Minecraft is a simple yet impactful way to enhance gameplay. These interactive blocks not only facilitate communication but also add a personal touch to builds. By using various wood types and formatting options players can create unique messages that stand out.
Utilizing signs effectively allows for better navigation and organization within the game. Whether marking territories or providing essential directions signs serve multiple purposes that enrich the Minecraft experience. Embracing the creativity and functionality of signs can transform how players interact with their environments making every adventure more enjoyable.